Managing Custom Payment Integrations
This tutorial will assist you in locating and managing your newly installed custom Payment Integrations.
Updated 4 months ago
This tutorial will assist you in locating and managing your newly installed custom Payment Integrations.
Begin by navigating to a specific subaccount. Then, go to the Payments tab followed by the Integrations tab at the far right.
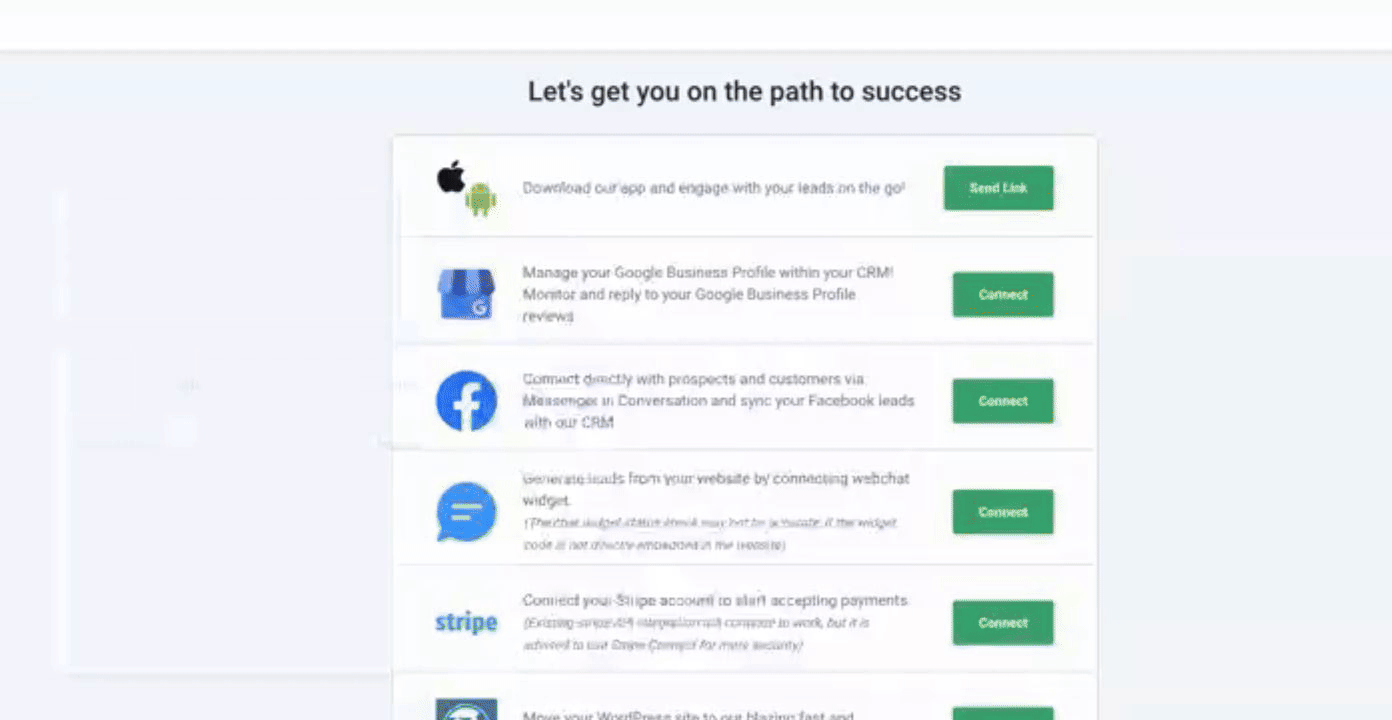
In your Payments Integrations list, you will now notice the custom integration app that you have installed.
Click on Connect. This action will transition you to the Manage Payment Integration screen.
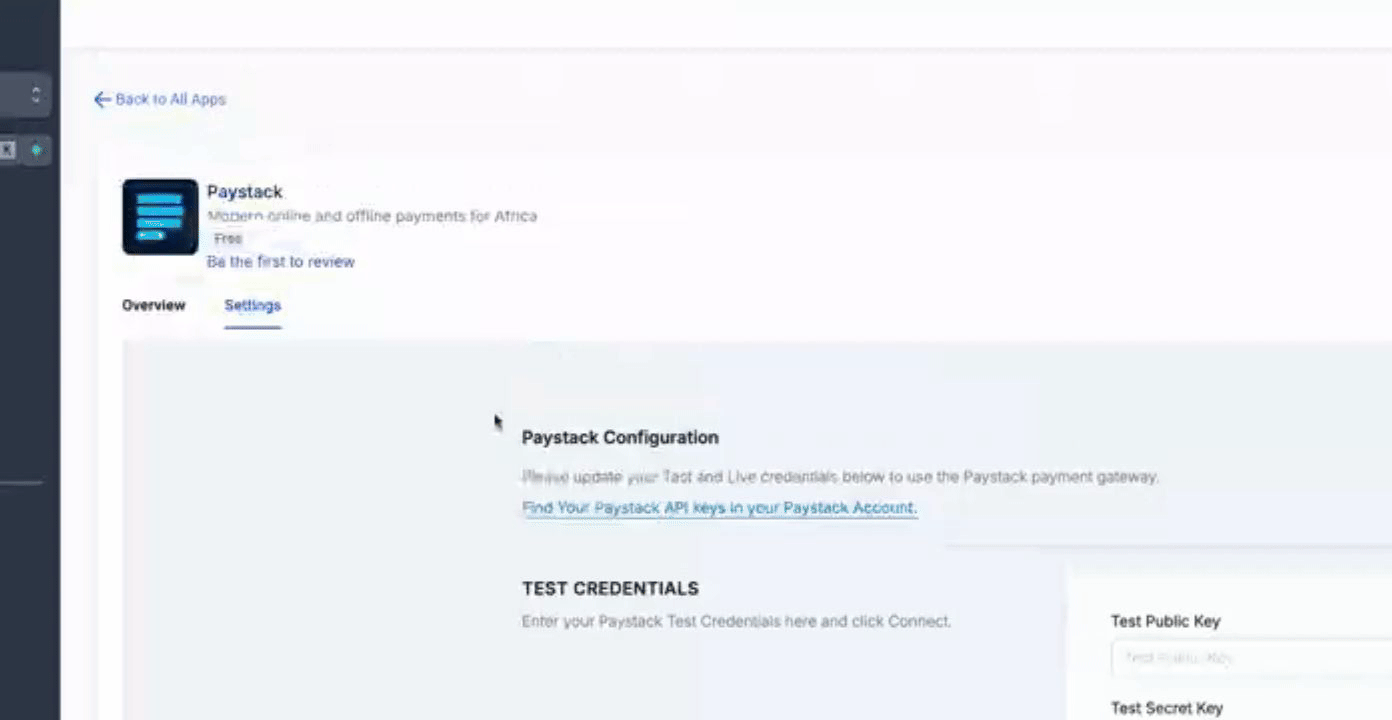
Next, click on Manage to bring up the app Settings screen within the subaccount.
Now, either you or your customer need to fill in the specific gateway credentials associated with the account that has been opened with the chosen gateway.
Fill in the Test credentials, followed by the Live credentials.
Click on Connect once more.
After connecting, return to the Manage screen, where a Set as Default button will be available. It is essential to set at least one payment provider as default before payments can become active within your account.
By following these steps, you will successfully locate and manage your custom Payment Integrations.